From Design to Production: How to Reduce Injection Molding Time-to-Market by 50%
Have you ever sent a beautiful design file and saw the schedule spread out… endlessly like cold taffy on the shop floor? It can feel like each and every drawing has to be revised a million times over and the samples come tumbling in and in and in and in while the launch date past a while ago. It doesn’t make sense: why do the delays seem to originate at the press, when it is the unclear rhythm between design and the floor that is problematic? But you can do something about it. You can make something out of it and then do that over and over again. This is a guide for product teams and founders on how to focus their time and energy in order to cut injection molding timelines by workflow optimizations and smart partnerships.
The focus is clear: design validation and production loops need to be compressed while gaining speed on rapid tooling, design for manufacturing, clearer prototype iterations, and specific decision gates. This is practical, not dreamwork. You can start on it in the upcoming Monday.
Step 1: Lock requirements early—Save the first week with DFM.
The first week of a project is the most critical according to a lot of people. It is when you have the first phase of the project that you can define in order to be the first heck of the project—perfect. It is not anywhere until you define minimum requirements.
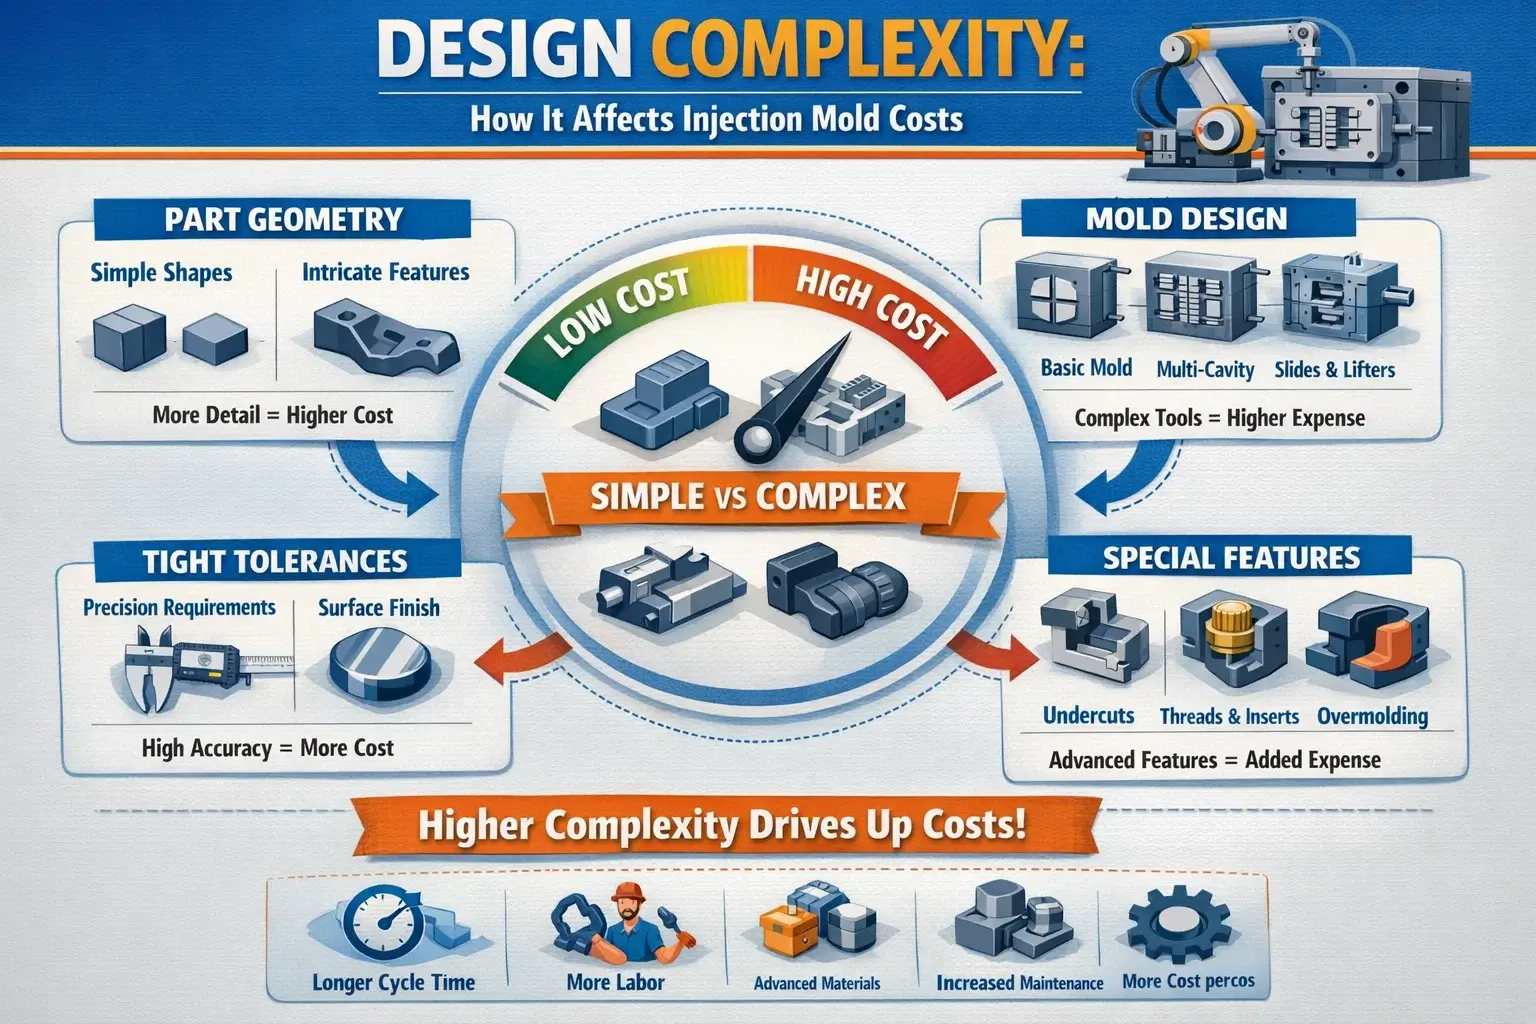
“Start equals rework.” make a DFM. Run it. Mandatory DFM first. Engineering dra… Advanced Locking s. It is simple but the most critical rules is the have to:
1. Draft angles. At least 1 °.
– Wall thickness: manage sink and cooling by hollowing out thick regions or ribs to maintain local area variation within 30%.
– Apply compensation within dimension chains and mating parts for ABS 0.5-0.7%, PC 0.5-0.7%, PP 1.2-1.8% shrinkage.
– To reduce stress and sink marks, internal fillet should be ≥ 0.5t (t represents wall thickness).
– Avoid A-surfaces and seals in ejector layout. Maintain straights for force vectors to reduce banana ejection.
– If possible, unify pull direction for parting and pull. For center features, limit the range of motion for pre-planned slides/lifters and cylinder space.
– Gating: select family (pin, sub/sneak, or hot runner) foremost on beauty, then on resin; adjust details after.
It may seem counterintuitive, but to go fast, slow down now. Spend two extra days now, and save two weeks in the future.
Step 2: “Cheap trick” rapid tooling is the opposite of an engine: Rapid tooling is often regarded as the “temporary” option, but it is in fact a method for quickening the pace of learning, and removing the risk associated with change.
– Use aluminum for cosmetic parts, resins without glass fiber, and parts with uncertain lifespan. It is worth noting that T0 often lands 30-40% sooner than P20 because aluminum conducts heat faster.
– Use P20 or similar for structural parts, parts with lifetime of medium (100k-300k shots), and with tighter stability on dimensions and finish.
– Early hot runner? If shot >30 g or you’re going to multi-cavity and colors won’t change often, “yes.” Less cold slug, shorter cooling, better balance.
– Standardized inserts: design screws, hinge pins, and snap hooks as replacing inserts—fail fast without touching core blocks.
It’s not one perfect shot we’re gambling on, we’re buying iterations faster and cheaper. The savings in time live in the feedback loop, not the CAD model.
Step 3: From prototype to pilot in a week—make every week count.
Divide the program into segments, define the inputs and outputs of each week.
– Slide 3D freeze (DVT-ready): DFM Done, critical dimension chain verified, material prelim set.
– Pre tool kick off (Pre-T0): Lines, Gate/Cooling concept, BOM freeze, narrow colors down to 2.
– T0 Sampling: Fill pressures, cooling time, sink zones, and warpage captured. No vibes, only numbers.
– T1/T2 tuning: change 1 variable at a time and record data (gate Ø, cooling channel, ejector spots, temp curve).
– Pilot Lot (PPAP-equivalent): 100–500 pcs for assembly, drop, thermal cycling, torque tests to practice real complaints before they happen.
Speed is not “cutting corners on tooling.” It means “producing decision-grade data faster.” Treat each trial as an experiment; the line gets quiet when the data gets loud.
Step 4: Mold strategy trade-offs—don’t let budget handcuff speed
Picking the wrong mold is like trying to run a marathon in a pair of dress shoes.
– Single vs Multi-Cavity: If demand is uncertain or design risk is high, begin with single cavity, only expand after stability is met. Starting with eight cavities can turn a minor tweak to a major surgery.
– Family molds: Works when the parts have similar cycle times and stable assembly relations, watch out for varying thicknesses that unbalance the fill. Use flow restrictors where needed.
– Expandable base: Leave empty zones for future cavities and hot runner ports. A little upfront space saves a lot of regret.
– Surface finishes: The higher the grade (texture, polish), the harder the rework. Align on a physical sample board before the tool steel gets cut.
Step 5: Choices at the millimeter leve that can save weeks
Boring tweaks have the biggest impact on the schedule.
– Add 0.5° draft and ejection load can drop to a 10-20% range, cutting down on sticking and scuffing.
– Add 0.2-0.3 mm fillets needed to curb sink and stress whitening.
– Cooling cuts by 20-30% just by reducing wall thickness trim from 2.5 to 2.0 mm.
– Stiffer with less shadows. Rib thickness at 40-60% of wall gives.
– Extend thread life with “cigar” fillet at the roots of bosses.
– Dimension chains to go/no-go gauges so T0 is not a debate, but a pass/fail day.
Step 6: Materials and coloring—don’t get hijacked by your week color cards.
“Conventional wisdom” is great until it’s not. Build a light weight material database and decide with data:
– ABS+PC (impact plus cosmetics), PP plus TPE overmold comfort, and PA66 plus GF30 high-strength structures are typical combos.
– Fine for structure, but risky on show surfaces—glass fiber warps. Preload counter-warp where needed.
– Small lots and frequent swaps can use masterbatch. Pre-colored has stable volume with less color drift and purge time.
– Ask for documents and lead times early to get UL flammability, UV resistance, and food contact certifications.
A quick aside: color is emotion and production is math. Your schedule will thank you. ΔE numbers and standard light boxes stops color wars.
Step 7: smart scale—split families, parallel, or add cavities.
Scaling production is not “more presses” only.
– FPY >98% and cycles are stable—add cavities. Design is frozen. Else, you scale defects.
– If one of the parts of the family molds to be split is under demand and is dragging its yield down, then it is best to let the parts run at their own pace.
– Two single cavity molds always outperform one multicavity mold, especially when the demand is uncertain and the launch is tight.
Step 8: Suppliers are no longer to remain a black box, start actively collaborating.
Holes through walls of information are punches by:
-Weekly or Tuesday Morn molds- Changes to a set temperature goes as: shared issue list (fill pressure, temp curves, and sink map, etc) and one change per run, and iterate.
-Processing windows (shrink temp molds, temp and heat cures) need to be simulated and adjusted before to reduce range of allowances to be set.
– Align with QA before the pilot and set control with PPAP, control MSA with gauges and FAIR or set blueprints, then change it as it gets acceptance critera.
Fill and cool with data tool using Simpo-Mold. Feedback from Hexagon or GOM scans below with actual curves instead of “magic.” Arguments are costlier than real data.
Step 9: 100, 500 and 2,000-piece gates.
Each 100 piece milestone flags different risks:
– Snaps with white marks and edges that galling threads and insertion or extraction forces. They are the cheapest and the point to tweak.
– Process that are capable with 500 pieces and dominate the cycle to run drop, transit and thermal set.
No, set and watch precision of Cp/Cpk, First Pass Yield and cycle stability.
– 2,000 pcs: Remember, supply schedule repeatability does not change across color changes, material changes, and other changes. Do all confirmations and set aside spares, backup molds, and backup presses. If all these steps are cleared, then the risks of mass production drops significantly.
Do not place the “production ready” banner until predictability has replaced coincidence.
Step 10: Production Ramp: Cycle, Cooling, and Automation.
– Use EPEI during cycle planning to help with changeovers and avoid color change over the color change time sink.
– Predominantly Cooling: 60 to 70% of the cycle time; optimize cooling channels, add beryllium copper or high conductivity inserts to the tool, and follow the sim.
– Automation: Pick and place, inline gate trimming, basic vision sorting. First bottleneck station.
There’s a simple reason: robots increase state of rest, they do not create it. Stable tooling and process control come first.
– ‘One and done’ lessons common slowdown traps.
– Under-travel on Side Actions discovered post-cut. Hi, it’s a rework of two weeks.
– Poor purging, then masterbatch change quickly last, and you get sparkled pilot lots.
– Drawing version chaos: wrong revision during exploitation.
– Three parameter changes and a trial report that has a novella. No one has time to replicate all of it.
Shifting Capability To Supporting Systems – Not Lucky Breaks
Systems produce speed outcomes. Transformate wins to asets:
– Develop standards library: mold specs, cooling interfaces, and ejector conventions
– DFM checklist: the ‘boring’ DFM items tick-box routine
– Process sheets and first article packs: recipes, temp/pressure/time, and gotchas
– Partner rosters: tool shops, resin suppliers, and SLA labs
– Goaling: DVT-ready to MP with weekly milestones
Closing Thoughts: Slower Does Not Equal Reckless. Slower Equals Systematic.
Maybe you have been burned the last attempts to go fast. Fair enough. Fast does not mean careless, it means shrinking each bet to the smallest reversible units with fast tools and clean data support. Stop friction and guessworks and start to converge between teams. Bring the DFM-estimate focused workflows, treat DFM, and costly testing as genuine experiments, the right bases, and mold the right supply chain with the right teams together. You will deshrink weeks to days.
Fast as Needed instead of Running from Time. That’s the goal. Put this playbook against the next drawing set and you will witness lauches go not just faster, but more steady and calm. Speed is more than it seems. Start designing now.